How to Build a Practical Electronics R&D Lab on a Budget
Developing an electronic product requires more than designing a circuit and writing firmware. Engineers must measure electrical signals, verify power supplies, debug communication interfaces, evaluate PCB performance, and test the product under different operating conditions.
For individual engineers, independent developers, startups, and small engineering companies, purchasing laboratory equipment can be a significant investment.
The good news is that you do not need a fully equipped corporate laboratory to begin developing reliable electronic products. By selecting the right instruments in the right order, you can build a practical electronics research and development lab within a reasonable budget.
This guide explains which instruments are essential, what each instrument does, how much you should expect to spend, and when upgrading to professional equipment makes sense.
1. What Equipment Does an Electronics Development Lab Need?
A practical electronics lab can be divided into six main equipment categories.
- Electrical measurement instruments
- Circuit prototyping and rework equipment
- Embedded-system development tools
- Power electronics testing equipment
- Environmental and reliability testing tools
- Production and quality verification equipment
The instruments you need depend on the products you develop. An engineer working on microcontrollers and communication devices may need a different setup from someone developing power converters, motor controllers, or battery-powered products.
2. Essential Measurement Instruments
2.1 Digital Multimeter (DMM)
Priority: Essential
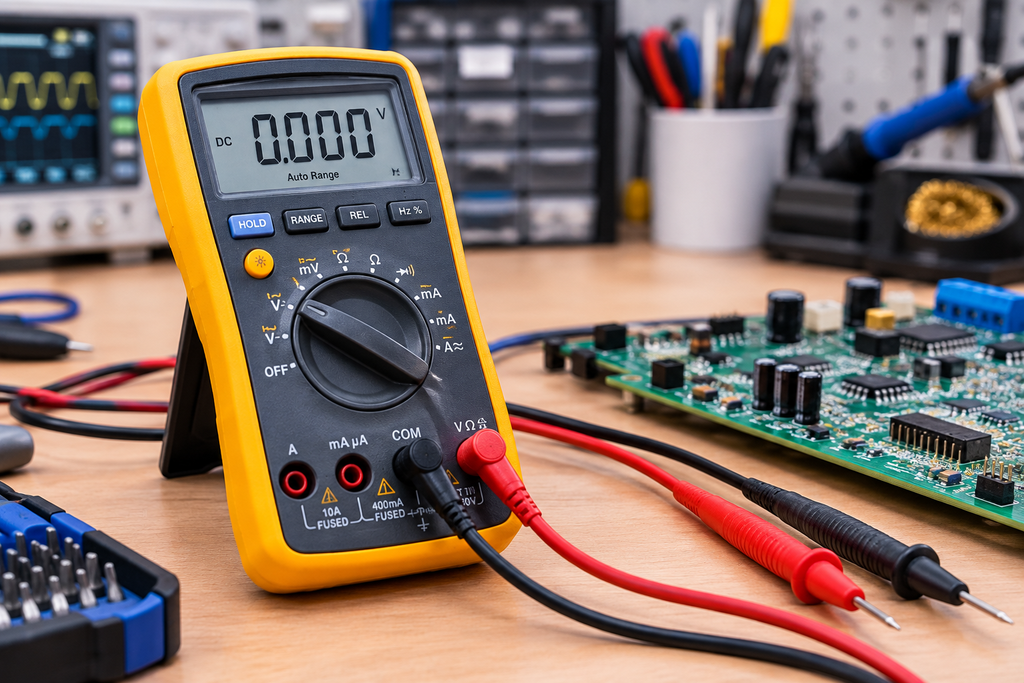
A digital multimeter is usually the first instrument an electronics engineer should purchase.
It measures voltage, current, resistance, continuity, and, depending on the model, capacitance, frequency, and temperature.
Typical applications include:
- Checking power-supply voltage
- Measuring resistor and component values
- Verifying continuity between PCB connections
- Checking for short circuits
- Measuring current consumption
- Troubleshooting power and ground connections
Recommended specifications
For general electronics development, consider a meter with:
-
- DC voltage accuracy appropriate for your design requirements
-
- Resistance and continuity measurement
-
- Current measurement with suitable input protection
-
- Capacitance measurement
-
- True-RMS AC measurement if needed
-
- Adequate safety ratings for the intended circuits
An entry-level meter may be sufficient for low-voltage electronics. Professional development may justify a more accurate bench or handheld instrument.
Estimated budget: $30–$150 for basic handheld meters; $150–$500 or more for higher-performance instruments.
Do not select a meter based on accuracy alone. Input protection, measurement category, current-fuse ratings, and manufacturer support are also important.
2.2 Digital Oscilloscope
Priority: Essential for dynamic signals
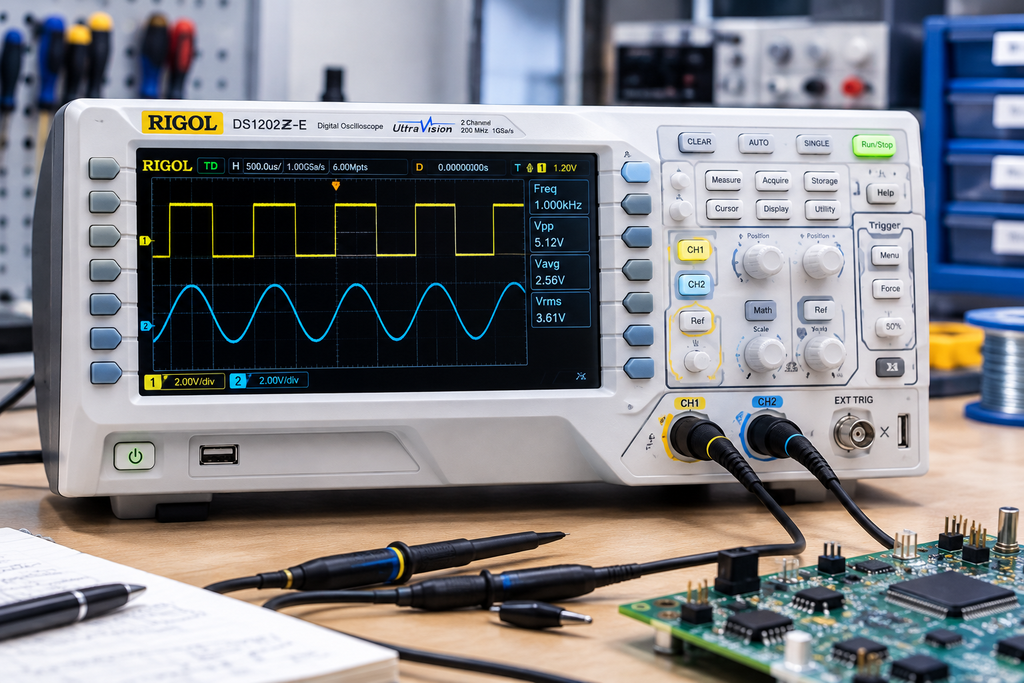
A multimeter shows a voltage reading, but it cannot reveal exactly how that voltage changes over time.
An oscilloscope helps engineers examine:
-
- Clock signals
-
- MCU reset timing
-
- PWM frequency and duty cycle
-
- SPI and UART waveforms
-
- Power-supply ripple
-
- Switching noise and ringing
-
- Startup and shutdown sequences
For embedded development, a four-channel oscilloscope is often useful because it allows you to compare power, reset, clock, and communication signals simultaneously.
Recommended starting specifications
| Application | Suggested starting point |
|---|---|
| Basic circuits and low-speed MCU projects | 50–100 MHz |
| General embedded development | Around 100 MHz |
| Faster digital edges and switching circuits | 200 MHz or higher, as required |
| Advanced high-speed signal analysis | Select bandwidth and probes based on signal requirements |
These are starting guidelines, not universal rules. Required bandwidth depends on signal rise time, frequency content, measurement accuracy, and the probe system.
Estimated budget: $150–$500 for entry-level or USB-based options; $400–$1,500 for many capable bench instruments; several thousand dollars or more for advanced professional equipment.
For a detailed comparison, see our related article: Best Oscilloscopes for Electronics Engineers: Personal Use vs. Professional Lab Equipment.
2.3 Adjustable Bench Power Supply
Priority: Essential

A bench power supply provides controlled DC voltage and current during development.
Its current-limit function is particularly valuable when powering a new PCB for the first time.
Typical applications include:
-
- Powering MCU development boards
-
- Testing different operating voltages
-
- Measuring startup current
-
- Checking current consumption in standby mode
-
- Troubleshooting short circuits
-
- Evaluating circuits under different supply conditions
Recommended specifications
For general low-voltage electronics, a single-channel supply with adjustable voltage and current limiting is a good starting point.
For more demanding projects, consider:
-
- Multiple independent output channels
-
- Low output ripple and noise
-
- Accurate current measurement
-
- Programmable voltage and current
-
- Remote sensing when needed
-
- Data logging or remote control
Estimated budget: $50–$200 for basic units; $200–$800 for more capable bench supplies; higher for precision or multichannel models.
Engineering tip: Before connecting a newly assembled PCB, set a conservative current limit appropriate for the expected load. Confirm the supply polarity and board power requirements before applying power.
3. PCB Prototyping and Rework Equipment
3.1 Soldering Station
Priority: Essential
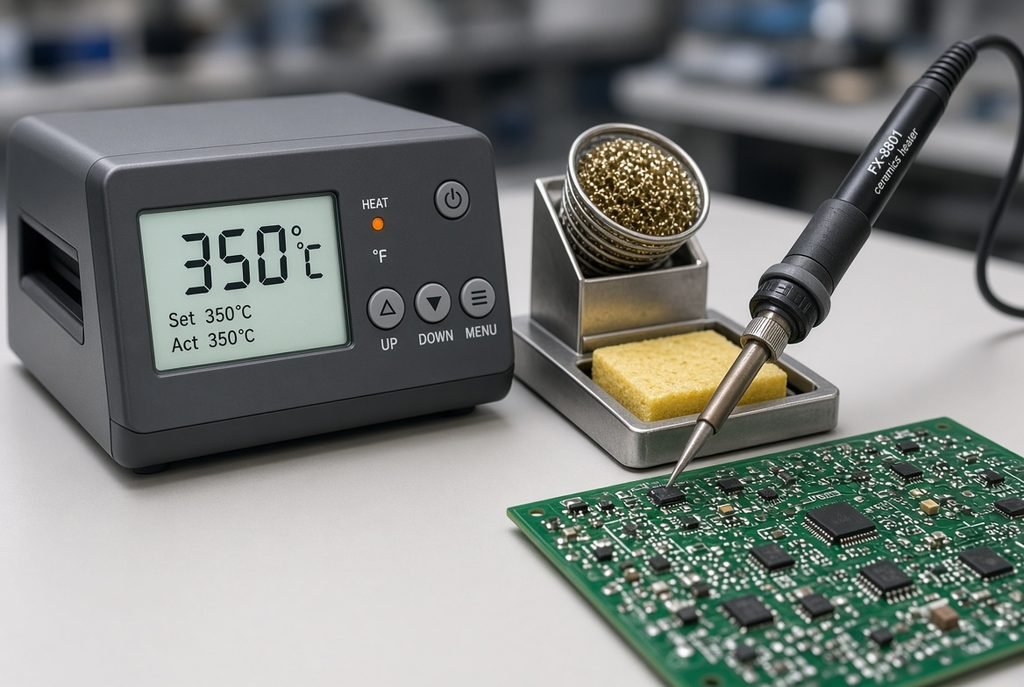
A temperature-controlled soldering station is necessary for assembling prototypes, replacing components, and repairing circuit boards.
Look for:
-
- Adjustable temperature
-
- Replaceable tips
-
- Good thermal recovery
-
- ESD-safe design
-
- Readily available replacement tips
Estimated budget: $40–$150 for basic stations; $150–$400 or more for professional equipment.
Avoid choosing a soldering station based only on its advertised wattage. Tip design, thermal recovery, temperature stability, and component access also affect soldering quality.
3.2 Hot-Air Rework Station
Priority: Important for SMD development

A hot-air station is useful when working with surface-mount devices, including small ICs, connectors, and components that are difficult to remove using an iron alone.
Typical applications include:
-
- Replacing damaged ICs
-
- Removing and installing SMD components
-
- Repairing prototype boards
-
- Reworking connectors and other surface-mount parts
Estimated budget: $50–$250 for many entry-level options; more for professional rework systems.
Hot-air rework requires appropriate airflow, temperature control, and protection for nearby components. For fine-pitch ICs and multilayer boards, practice on scrap boards before working on valuable prototypes.
3.3 Inspection Microscope
Priority: Strongly recommended for SMD work

As component sizes decrease, visual inspection becomes increasingly important.
A stereo microscope or suitable digital microscope helps inspect:
-
- Fine-pitch IC solder joints
-
- Solder bridges
-
- PCB contamination
-
- Damaged component leads
-
- Cracked solder joints
-
- Connector and pad damage
Estimated budget: $50–$200 for basic digital microscopes; $200–$800 or more for higher-quality inspection systems.
For hands-on rework, a stereo microscope often provides better depth perception than a basic digital camera. Choose based on working distance, magnification, lighting, and camera requirements.
4. Embedded-System Development Tools
4.1 Debugger and Programmer
Priority: Essential for MCU firmware development
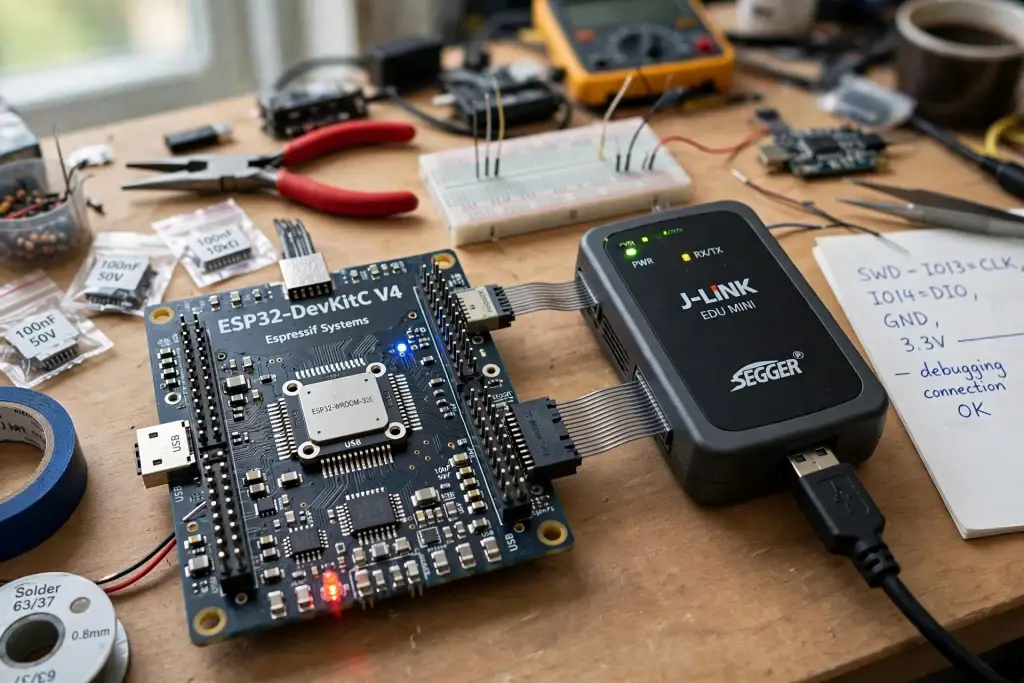
When developing products based on microcontrollers, a compatible debugger and programmer are often indispensable.
They allow you to:
-
- Download firmware
-
- Set breakpoints
-
- Inspect variables and registers
-
- Step through program execution
-
- Investigate startup failures
-
- Read processor status information
Examples include SWD or JTAG debuggers for supported ARM-based devices and manufacturer-specific tools for other MCU families.
For automotive-grade or complex embedded processors, confirm compatibility with the processor family, IDE, debugging protocol, and supported development environment before purchasing.
Estimated budget: $20–$100 for many basic tools; $100–$500 or more for advanced development tools. Some professional processor families require specialized hardware and software that cost substantially more.
4.2 Logic Analyzer
Priority: Recommended for digital communication
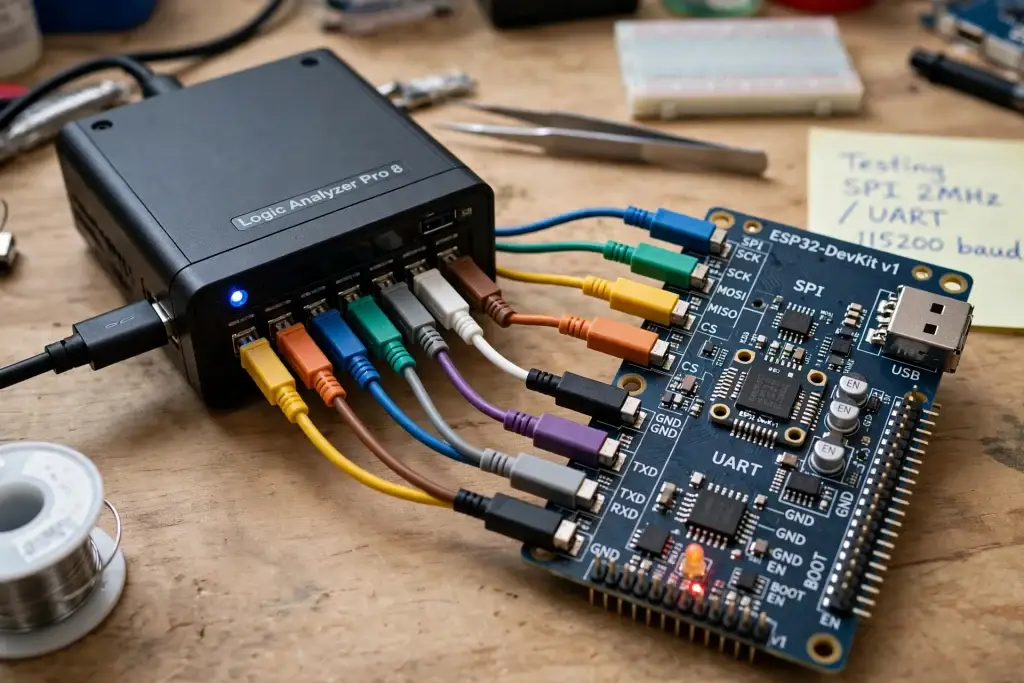
A logic analyzer captures multiple digital signals simultaneously. It is especially useful for examining long communication sequences and digital timing relationships.
Typical applications include:
-
- SPI communication
-
- I²C bus debugging
-
- UART serial communication
-
- GPIO timing
-
- Digital handshaking
-
- State-machine verification
An oscilloscope shows electrical waveform quality, while a logic analyzer is often more convenient for decoding many digital signals over a longer period.
Estimated budget: $10–$100 for many basic USB devices; $100–$500 or more for advanced tools.
Check the supported input-voltage range and logic thresholds. Do not assume that every logic analyzer can safely connect to every digital interface.
4.3 Function Generator
Priority: Useful for analog and control-system development
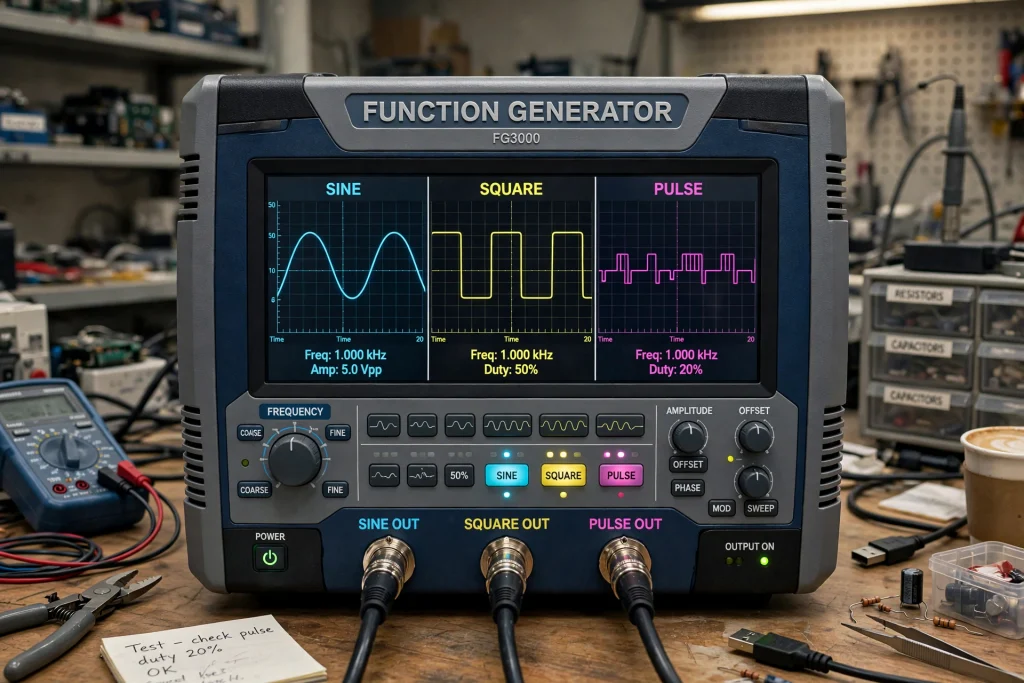
Bench function generator producing sine, square, and pulse waveforms.
A function generator produces test signals that can be applied to a circuit.
Common applications include:
-
- Testing amplifier frequency response
-
- Applying square-wave inputs to digital circuits
-
- Testing filters
-
- Evaluating sensor-conditioning circuits
-
- Checking response to different frequencies
-
- Generating pulses for timing experiments
Estimated budget: $80–$300 for many basic generators; $300–$1,000 or more for more advanced models.
Before connecting a generator to a circuit, verify its amplitude, output impedance, DC offset, and voltage limits. A generator may not provide the high current or voltage needed to drive a real load directly.
5. Power Electronics and Load Testing Equipment
5.1 Electronic DC Load
Priority: Important for power-supply and battery products

An electronic load draws a controlled amount of current from a power supply, battery, or DC converter.
It can help evaluate:
-
- Maximum output current
-
- Load regulation
-
- Output-voltage stability
-
- Current limiting
-
- Startup and transient response
-
- Battery discharge behavior
Useful operating modes may include constant current, constant resistance, constant voltage, and constant power.
Estimated budget: $100–$400 for some entry-level products; $400–$1,500 or more for higher-power or programmable instruments.
Choose the voltage, current, power, cooling, and transient capabilities according to the device under test. A load rated for 150 W cannot safely dissipate 300 W simply because its current rating is sufficient.
5.2 LCR Meter
Priority: Application-dependent
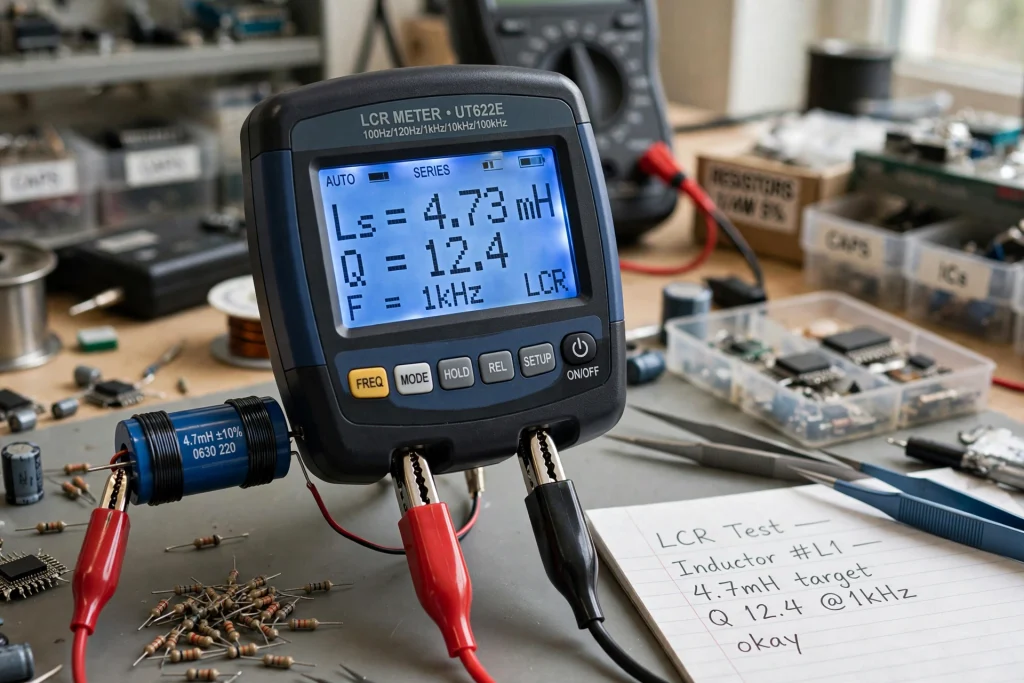
An LCR meter measures inductance, capacitance, and resistance under specified test conditions.
It is useful for:
-
- Verifying capacitors and inductors
-
- Checking component tolerances
-
- Selecting passive components
-
- Investigating filter circuits
-
- Comparing inductors for power converters
-
- Checking component behavior at different frequencies
Estimated budget: $50–$200 for basic meters; $200–$1,000 or more for advanced measurement capabilities.
For high-frequency power electronics, verify the test frequency, accuracy, equivalent-circuit mode, and fixture requirements.
5.3 Thermal Camera or Temperature Measurement System
Priority: Useful for reliability and thermal design
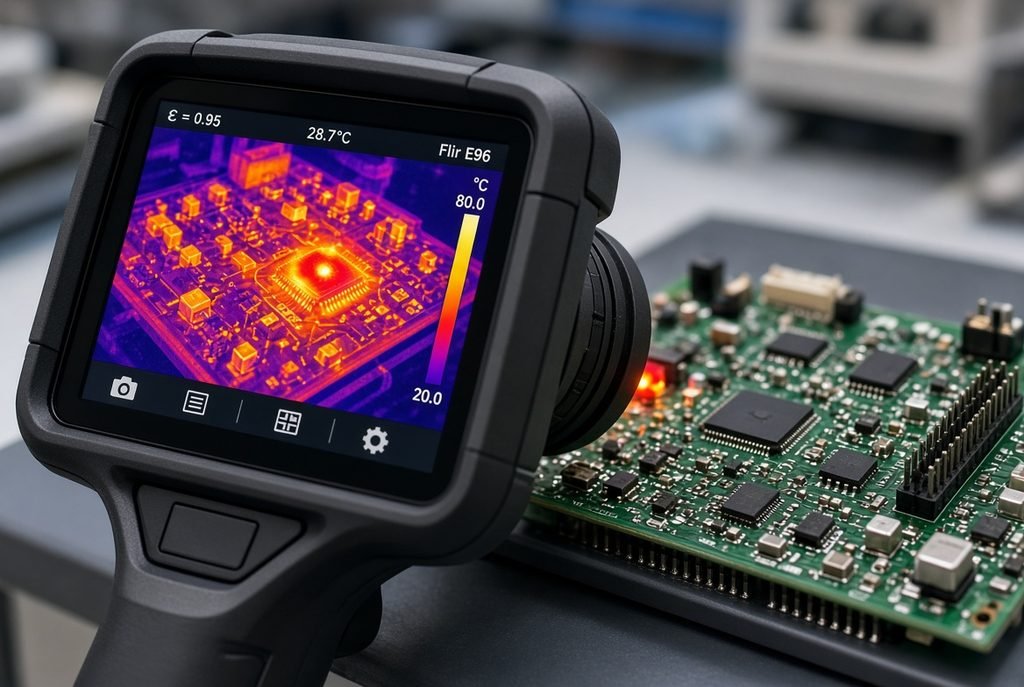
Thermal measurements can reveal components that overheat during operation.
Applications include:
-
- Identifying hot spots on a PCB
-
- Evaluating voltage regulators and power MOSFETs
-
- Comparing thermal performance under different loads
-
- Checking heat-sink effectiveness
-
- Investigating abnormal temperature rise
Estimated budget: $150–$500 for some entry-level thermal cameras; $500–$2,000 or more for higher-performance options.
A thermal camera is a screening tool, not an automatic guarantee of accurate component temperature. Surface emissivity, reflections, package material, field of view, and calibration can affect the reading. Use thermocouples or other suitable sensors when more direct temperature measurement is needed.
6. A Practical Equipment Budget for Individuals and Small Businesses
The following are planning estimates in US dollars, not live product quotes. Actual costs vary with specifications, brand, accessories, and condition.
| Equipment | Starter setup | More capable setup |
|---|---|---|
| Digital multimeter | $30–$100 | $100–$300 |
| Oscilloscope | $150–$350 | $400–$1,200 |
| Bench power supply | $50–$150 | $200–$500 |
| Soldering station | $40–$100 | $100–$250 |
| Hot-air rework station | $50–$120 | $120–$300 |
| MCU debugger/programmer | $20–$100 | $100–$400 |
| Logic analyzer | $10–$50 | $100–$300 |
| Microscope | $50–$150 | $200–$500 |
These totals exclude a workstation, development boards, components, probes and adapters not included with the instruments, ESD protection, storage, calibration, and specialized safety equipment.
A small business should also budget for replacement accessories, maintenance, calibration where applicable, and documentation of test procedures.
7. Three Recommended Lab Configurations
Configuration A: Individual Developer or Hobbyist
Target budget: Approximately $400–$800
Start with:
-
- Digital multimeter
-
- Entry-level oscilloscope
-
- Adjustable bench power supply
-
- Temperature-controlled soldering station
-
- Compatible MCU debugger
-
- Basic logic analyzer
This configuration is suitable for many low-voltage circuits, firmware development, sensor interfaces, and basic communication troubleshooting.
You may initially use a microscope or hot-air station only when needed, rather than purchasing every tool immediately.
Configuration B: Independent Engineer or Small R&D Team
Target budget: Approximately $1,000–$2,500
Consider:
-
-
Better four-channel oscilloscope
-
More capable multimeter
-
Adjustable bench power supply
-
Soldering and hot-air rework stations
-
Microscope
-
Compatible debugger/programmer
-
Logic analyzer
-
Function generator
This setup supports a wider range of PCB prototyping, embedded development, timing analysis, and circuit verification.
A small team may benefit more from a reliable four-channel oscilloscope and good probes than from purchasing several low-cost instruments with overlapping capabilities.
-
Configuration C: Small Electronics Product Development Company
-
Target budget: Approximately $2,500–$7,500 or more
Depending on the product, consider:
-
Four-channel oscilloscope with suitable bandwidth and triggering
-
High-quality multimeter
-
Programmable bench power supply
-
Electronic load
-
Function generator
-
LCR meter
-
Soldering and hot-air rework equipment
-
Inspection microscope
-
MCU debugging tools
-
Thermal measurement equipment
-
-
A company developing power supplies or battery-powered products may prioritize electronic loads and power-measurement capability. A company developing embedded controllers may prioritize debugging, protocol analysis, and a higher-performance oscilloscope.
These configurations are starting points, not fixed requirements. Select the instruments according to your actual product specifications and test plans.
-
-
8. Equipment You May Not Need to Buy Immediately
Some instruments are expensive, specialized, or necessary only for particular products.
Examples include:
-
- High-voltage differential probes
-
- Current probes for switching circuits
-
- Spectrum analyzers
-
- Network analyzers
-
- Precision source-measure units
-
- Environmental chambers
-
- Electromagnetic compatibility (EMC) test systems
-
- Automated production test systems
-
- High-bandwidth professional oscilloscopes
9. Important Safety and Test-Limit Considerations
A development lab should be designed around safe measurement practices.
-
- Use instruments and probes rated for the voltage, transient level, and measurement category involved.
-
- Never assume that an oscilloscope’s ground clip is isolated from protective earth.
-
- Do not connect a standard grounded oscilloscope probe to a high-side switching node without an appropriate measurement method.
-
- Use a suitable differential probe or other properly rated instrument for measurements that require it.
-
- Protect sensitive components against ESD.
-
- Set current limits before powering unverified circuit boards.
-
- Keep high-voltage and high-energy testing separate from ordinary low-voltage bench work.
-
- Use qualified external laboratories for formal compliance testing when required.
For products intended for commercial sale, engineering verification is not the same as regulatory compliance certification. EMC, electrical safety, environmental, and industry-specific tests may require specialized facilities and defined procedures.
10. How to Build Your Lab Step by Step
A cost-effective purchasing plan is to acquire equipment in stages.
Stage 1 — Basic electrical verification
Purchase a multimeter, bench power supply, and soldering station.
Stage 2 — Dynamic signal analysis
Add an oscilloscope and suitable probes. This is often the most important upgrade for debugging startup problems, digital timing, and power noise.
Stage 3 — Embedded firmware development
Add the correct debugger/programmer and a logic analyzer for the MCU and communication interfaces you use.
Stage 4 — PCB assembly and repair
Add a hot-air rework station and inspection microscope as your SMD work increases.
Stage 5 — Product performance testing
Add a function generator, electronic load, LCR meter, or temperature measurement equipment according to your product’s requirements.
Stage 6 — Production and reliability verification
Develop repeatable test procedures, maintain measurement records, and use qualified external facilities for specialized tests that your lab cannot perform.
This staged approach reduces initial cost while allowing the laboratory to grow with the business.
Conclusion
A practical electronics R&D lab does not need to begin with expensive professional instruments. A carefully selected combination of a multimeter, oscilloscope, bench power supply, soldering station, and compatible development tools can support a wide range of initial design and debugging tasks.
As projects become more complex, add instruments that address specific engineering problems rather than buying equipment based on specifications alone.
For individual engineers and small companies, the best laboratory is one that produces reliable measurements, shortens debugging time, and helps verify product performance safely and repeatably.